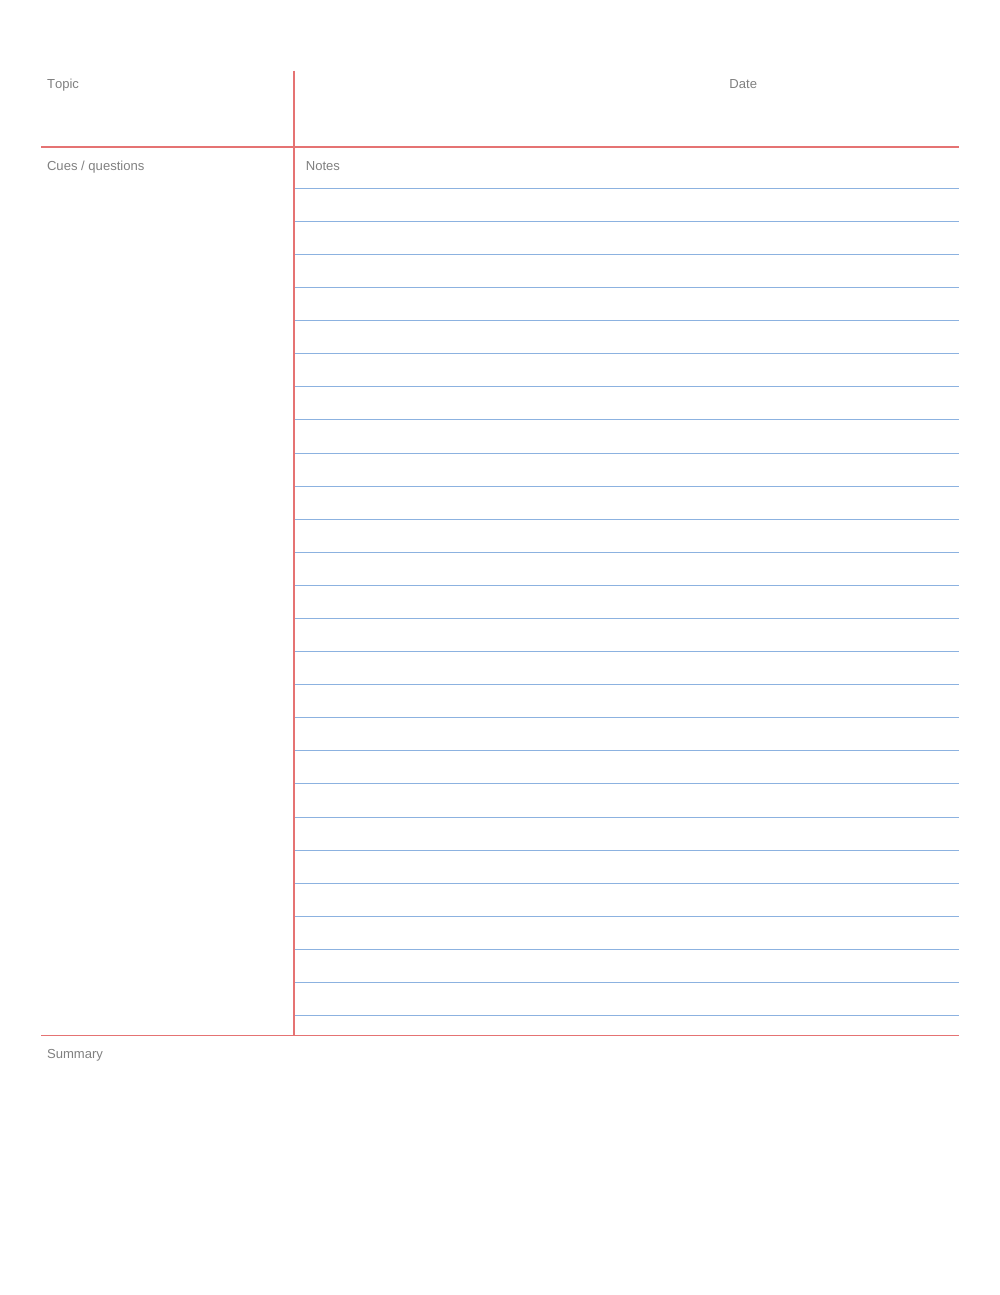
Preview of the Cornell notes, college ruled, US Letter file
About this printable
The Cornell method splits a page into three parts. During a lecture or reading you write notes in the large lined area on the right. Afterwards you add keywords and questions in the narrow cue column on the left, and finish with a two- or three-sentence summary in the box at the bottom.
This template has Topic and Date fields at the top, a cue column whose dividing line sits 2.5 inches (63.5 mm) from the left edge of the paper, college-ruled lines 9/32 inch (7.1 mm) apart in the notes area, and a summary box filling the bottom fifth of the page. The US Letter sheet has 26 note lines and the A4 sheet has 29. There is no logo, website address or other printing on the sheet.
The system was developed by Walter Pauk, an education professor at Cornell University, and described in his book How to Study in College. It is still taught by the university's Learning Strategies Center.
How to use the page, step by step
- Before class: write the topic and date at the top, so the sheet can be filed and found later.
- During class or reading: take notes only in the right-hand area. Use short phrases and abbreviations, and skip a line between ideas so there is room to add details later.
- Within a day: read through your notes and write cues in the left column next to the lines they belong to. Turn facts into questions where you can.
- Right after that: write the summary at the bottom in your own words.
- To review: cover the notes area with a blank sheet, read each cue, and answer it out loud before you uncover the notes to check.
Writing good cues
The cue column is what turns a page of notes into a self-test, so it is worth doing well. A cue should be something you can answer, not just a label. "Causes of inflation?" works better than "Inflation", and "How does temperature change enzyme activity?" works better than "Enzymes".
Keep cues level with the notes they point to, so your eye can jump across when you check an answer. On a full page of 26 lines, five to eight cues is typical. If a block of notes gets no cue at all, it is often a sign that you did not understand that part yet: write a question mark there and ask about it.
Writing the summary
Write the summary last, after the cues, in two or three sentences. Aim for what someone who missed the class would need to know: the main idea, how the pieces connect, and anything you were told will be on a test. If you cannot write it without looking at the notes, that tells you which part to review first. The box is deliberately small, so it forces you to choose.
A simple review schedule
Notes are most useful when you go back to them several times in short sessions rather than once the night before a test. One schedule that works for many students: add cues and the summary on the same day, do a cover-and-answer pass two or three days later, then once a week read only the cues and summaries for every sheet in the unit. Before an exam, pull out the sheets with cues you still cannot answer and spend your time on those.
Who it suits
High school and college students use it for lectures and textbook chapters. It also works for training courses, sermons and talks, and for meeting notes, where the cue column becomes a list of decisions and action items. Language learners can write new words and example sentences in the notes area and the meaning in the cue column, then cover either side to test themselves.
Common mistakes
- Copying slides word for word. You learn more by writing the idea in fewer words.
- Leaving the cue column empty. Without cues the sheet is ordinary lined paper and the self-test never happens.
- Writing the summary during the lecture. It works best after you have added the cues.
- Putting two topics on one sheet. Start a new page for each topic so sheets can be sorted later.
- Printing with Fit to page, which squeezes the line spacing.
How to print it
- 1Print a week's worth at once by entering a number of copies in the print dialog.
- 2Use Actual size so the lines keep their college-ruled spacing.
- 3Print single-sided. Each topic gets its own sheet, and you will want to lay several sheets side by side when you review.
- 4If you plan to punch holes for a binder, keep cue writing a finger's width away from the left edge of the paper.
- 5To review, cover the notes area with a sheet of paper and try to answer the questions you wrote in the cue column.
Questions
What goes in the cue column?
Short prompts written after class: key terms, likely test questions and anything you need to look up. The idea is that the cues let you quiz yourself later.
Should I use the A4 or the US Letter version?
Use the one that matches the paper in your printer. The layout is the same; the A4 sheet is a little taller, so it fits 29 note lines instead of 26.
Can I use it on a tablet?
Yes. Import the PDF into a note app that supports handwriting on PDFs, such as GoodNotes, Notability or OneNote, and duplicate the page as needed.
Is there a version without lines?
Not yet. If you prefer drawing diagrams, the dot grid paper works well with a hand-drawn cue column.