QR Code Blurry When Printed? How to Keep It Sharp
By the UtilityNest team · · 4 min read
If a QR code looks soft or stops scanning after printing, start with three things. Use a clean export, leave a blank border around the code and check the final print at the size people will see it. A sharp code can still fail if a frame touches it, if it has been stretched, or if the surface reflects light into the camera.
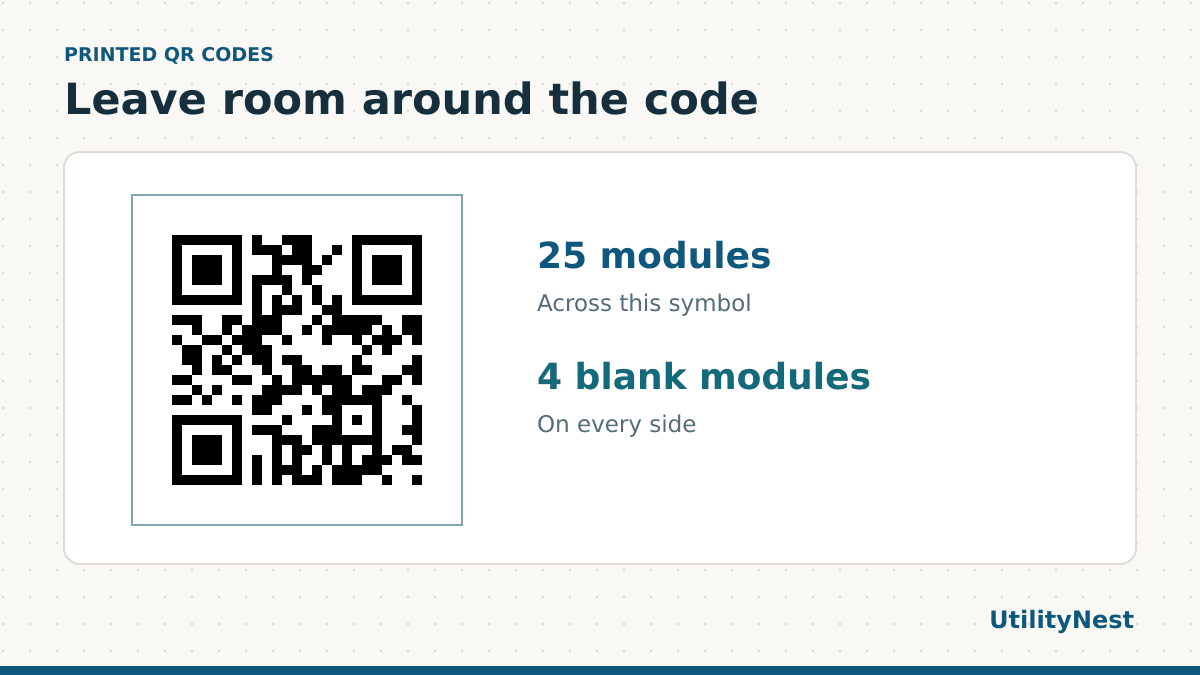
Keep the blank border around the code
The quiet zone is the empty area between the code and everything around it. DENSO WAVE specifies a margin four modules wide on all four sides. A module is one little square in the code. Measure relative to those squares, because the physical width of a module changes when the code gets bigger or smaller.
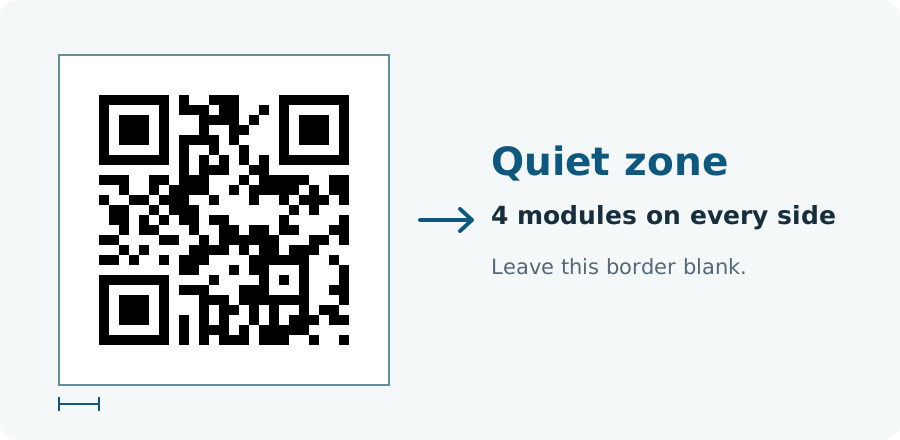
A logo, design frame or nearby caption should stay outside this border. If you use a transparent QR graphic, check what will show through the margin when it is placed into the final layout. A patterned or dark background may make the clear area hard to distinguish. When in doubt, put the code on a plain white square with enough room around it.
Use SVG when the artwork will be resized
Export an SVG for a layout program or print workflow that accepts vector artwork. An SVG can be resized without baking the QR edges into a small pixel grid. When the destination needs PNG, export at a large enough size from the original code. Enlarging a screenshot of a small code can soften the square edges. Keep the image square when placing it into the design.
Open QR Code Generator, enter the final link and set Quiet zone (margin) to at least 4. Download SVG when the layout accepts it, or PNG when it asks for an image. In the layout preview, make sure that the blank margin is still included. A crop tool can remove it even if it was present in the original download.
Why the total width can be misleading
The diagram uses a 25-module symbol. Four blank modules on the left and right make its full width 33 modules. If you export that exact design at 330 pixels wide, each module has ten pixels available across its width. A denser symbol at the same overall width has fewer pixels per module. Look at the actual code you plan to print, because the number of modules changes with the contents and settings.
The pixel calculation helps you understand what happens when placing a raster image. It does not tell you the right physical size for every print. The viewing distance, printer, surface and camera also matter. A code on a desk card can be scanned close up. A code on a window or poster has to work from where people can stand. Test the finished design in the position you expect it to be used.
Check the version inside your design file
Zoom in on the placed artwork before sending it to print. Look at the edges of the three large corner squares. If they look soft in the file but sharp in the original export, the layout program may be using a low-resolution preview or may have resized a small PNG. Inspect an exported print PDF as well as the editing view. If the softness is baked into the exported file, replace the graphic with the original vector or a larger PNG and export again.
Check the margin at the same time. A white rectangle added behind the code only helps if it extends far enough beyond all four sides. The margin counts from the outermost row or column of modules, including the corners. Leave room for the crop line, mounting tape or fold in the physical design. A clean border on the screen can disappear when the printed material is trimmed.
Check one physical copy before making a batch
- Print or export one example at the exact final size. Use the same paper, coating or placement if possible.
- Scan it with a phone camera from the expected distance. Try another phone or camera app if you can, and test at a slight angle.
- Check the destination after it opens. If the artwork was copied from another version, confirm that it points to the final page.
- If the code works on screen but fails on paper, try a larger placement, darker marks, a plain light margin and a surface with less glare. Test each meaningful change.
For the digital export, the QR Scanner can confirm what a saved image contains before you pass it to a printer. A digital scan is a separate check from scanning the print. Keep the original graphic so you can make a fresh copy if the design changes, and save the link in plain text alongside it for anyone who cannot scan.